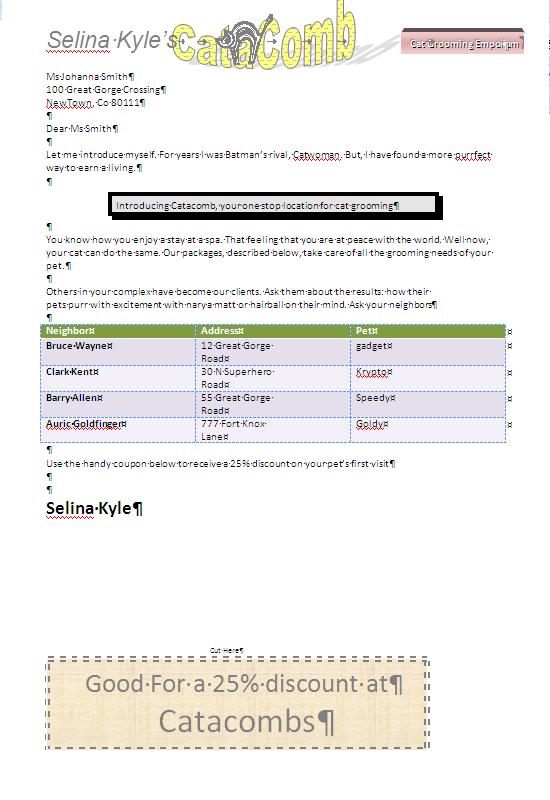

Well, we are aiming at doing the project that appears to the right. We want to be smart about this - it should be apparent that Miss Kyle need a header for her stationary and the top of this document would serve that purpose. There is no way to save a generic header, but you can save a set of objects as a quick part and that's what we are aiming to do
We are going to put Selina Kyle's name in a textbox, use word art for Catacomb, use clip art for the cat and use another text box for grooming emporium
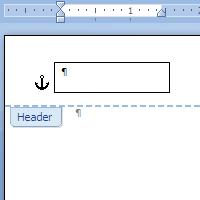
First, let move into the header. While in the header go to the insert ribbon and click text box. Use the bottom option - draw text box - and use the cross hairs to crate a text box on the left part of the header as indicated below.
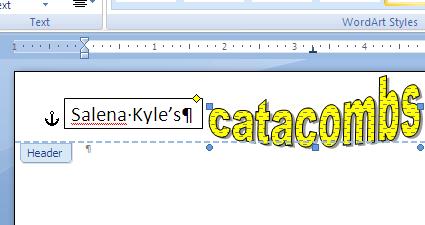
Type in the text box the text Salina Kyle's and manipulate either the text box width or the point size to fill in the text box accordingly. Next, let's insert some word art. Use the insert ribbon and the word art button and select an appropriate word art form (the yellow one in the 5th column, 4th row approxiamtes a stretching cat). Type in Catacombs and press ok. You will notice that you canot move Catacomb from its position. This has to do with text wrapping. It should already be selected - having handles - so enter the design ribbon, click text wrapping and select tight. You should now be able to move catacombs to the right and below is what it should approximately look like.

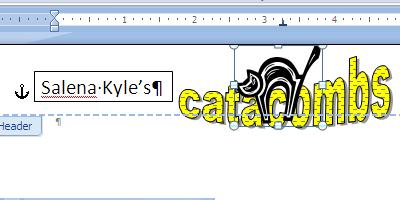
Let's add the cat. But before we do, click off the catacombs handles other wise the cat will replace this object. Click the insert ribbon and click cip art. Note: sometimes your clip art selector has the wrong parameters. This Halloween cat should appear under the category of cat(s), black cat(s) and animals. To find it you may need to click everywhere at search in and clip art at selected media types. Assuming your selections are correct in the clip art panel, enter cat In search for. There are plenty of cats, but somewhat dow the list you will see an arched halloween cat. Double click to get it onto your document. Similar to the previos object, text wrapping must be manipulated and with the handles still visible on the cat, click text wrappong on the format ribbon and select tight. Manipulate the size of the cat and then let it bridge the middle c as indicated below
We need the finish this off by creating a text box with the text cat emporium. Click off the cat handles and we go back into the insert ribbon and click text box, then draw text box. Enter cat emporium and change the point size to something appropriate. The firmat ribbon should now be available. Let's use 3D effects. Click on this and choose on of the perspective options. you should now have something that looks like what is shown below
 We almost have the header. But one last thing. Let's knock out the border around Salina Kyle's name. Click on the border of that text box. The border is designated as an outline in Microsoft's description. Click shape outline in the format ribbon and then no outline. The border should disappear.
In starting this we were going to do two things, the Salina Kyle marketing piece and create a header she could use in the future. We ave the header. Now, with your shift key down, click all the components so that they are all selected. Once all selected, click the insert ribbon and then save selection to the quick parts gallery. Give it a name - possible catacomb header - and a description if you like and then save this to quick parts by clicking ok. You now have a permanent header in effect. To test this, open a new page and click to enter the header. Then enter the insert ribbon and click quick parts. Below is an example of what you should be seeing. Click on the catacomb header to place this into the header of your document. Quick parts is new to 2007 (I do not believe it can be used as a component in previous versions) and allows you to pre program components as we just did. It is independent of document being part of the Word file structure, so this new component would be available from on Salena's computer system any time she would want it. Make sure if you try this at home that you answer yes wheh te system finally asks whether you want to add this quick part to building blocks which is where Word saves this
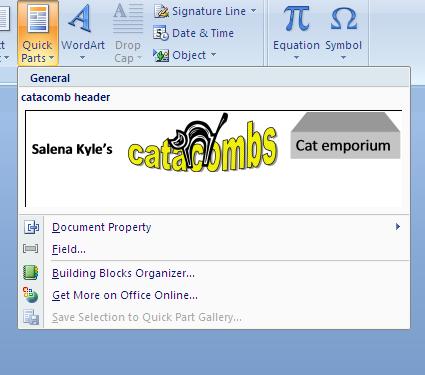
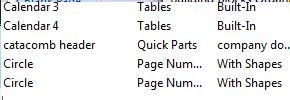
Now, close Word and bring it up again. Click on quick parts. You will probably see what's on the left above which is what you had and assumes that you saved it into the system. To the right is what you could find using the building blockes organizer. Any quick part has the possibility of saving into a category and if this was a real company, it is probable that we would have created a category to store all of catacombs building blocks.
We want to finish the rest of the document. So far, in creating the heading we have used text boxes, clip art and word art. All of these are considered as objects in Microsoft Word. This terminology does not extend into the document itself or the header and footer. These are called buffers, a buffer being where text is amassed. Anyway, to continue, we will be filling in this document with an additional textbox, a picture and a table.
The hardeest (and in some ways the easiest) object ot deal with is a table. Tables are a form of arrays and matrices that is found in mathematics and have been ported to computer technology. Besides it's use in word processing, quite a bit of formatting is done in tables on the Internet (although some technologies, such as CSS, have replaced this, and is very important in computer programming of all facets. Your instructor has used for some years a tutorial to explain the operations of tables in Micrsooft word and the link to this is right here
Back to Index